Gourmet Mushroom Growing Guide: How to Use Liquid Culture

Your Black Forest Mushrooms Liquid Culture Guide
🌲 Welcome, Adventurer! You’ve taken the first step into the world of mushroom cultivation with your Gourmet Liquid Culture Syringe from Black Forest Mushrooms.
With this guide, you’ll learn how to:
✅ Inoculate grain spawn to build a strong foundation.
✅ Expand grain spawn into a bulk substrate for fruiting.
✅ Create the right environment for healthy mushrooms.
Patience and precision are key! Follow these steps closely, and your mycelium will reward you.
What You Need (Before You Begin)
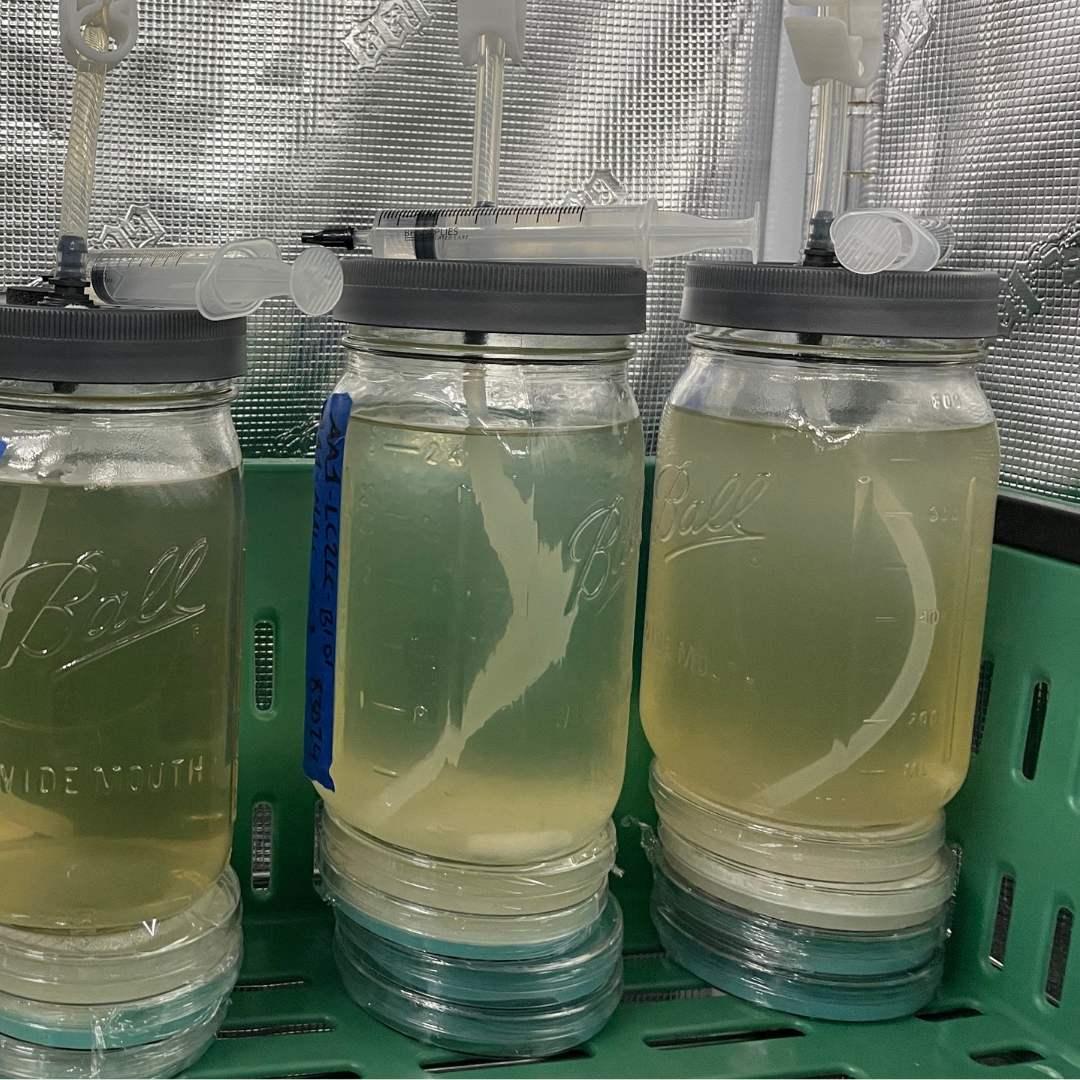
Your liquid culture syringe contains live mycelium suspended in a nutrient-rich solution—a powerful starter for growing mushrooms.
🔹 Basic Supplies:
- Sterilized grain spawn (rye berries, millet, or sorghum).
- Sterile bulk substrate (Masters Mix, hardwood sawdust, straw, or supplemented sawdust, depending on species).
- Sterile needle & alcohol wipes (included with syringe).
- Gloves & mask for cleanliness.
- Jars or filter patch bags for incubation.
- Still air box (SAB) or flow hood (optional but improves success).
Step-by-Step Instructions
Step 1: Inoculating Grain Spawn
💡 Grain is the foundation. It provides nutrients and space for mycelium to colonize before moving to the substrate.
1️⃣ Sterilize Everything:
- Work in a clean environment—wipe down surfaces and sanitize hands.
- If using a Still Air Box (SAB) or Flow Hood, set it up now.
2️⃣ Prepare Your Syringe:
- Shake the syringe gently to distribute the mycelium evenly.
- Remove the protective cap and attach the sterile needle.
- Wipe the needle tip with an alcohol wipe before injecting.
3️⃣ Inject the Liquid Culture into Sterilized Grain:
- If using filter patch bags: Inject 2-5ccs through the injection port.
- If using jars: Inject 2ccs per quart jar through a self-healing injection port or under sterile conditions.
4️⃣ Seal & Store for Colonization:
- Place grain jars/bags in a dark, warm area (65-75°F).
- Do not shake yet—let mycelium establish itself first.
⏳ Colonization Time: 10-21 days (varies by species).
✅ Next step: Once the grain is fully colonized (completely white), proceed to substrate inoculation.
Step 2: Expanding to Bulk Substrate
💡 Now, we’re giving the mycelium more food and space to grow mushrooms!
1️⃣ Choose the Right Substrate for Your Species:
| Species | Recommended Substrate |
|---|---|
| Lion’s Mane | Hardwood sawdust or supplemented sawdust |
| Blue Oyster | Masters Mix (50% hardwood sawdust, 50% soy hulls) |
| King Oyster | Masters Mix or straw |
| Pioppino | Hardwood sawdust or straw |
| Nameko | Hardwood sawdust or supplemented sawdust |
| Maitake | Hardwood sawdust with bran supplementation |
| Turkey Tail | Hardwood sawdust |
| Enoki | Hardwood sawdust or straw |
2️⃣ Mix Fully Colonized Grain with the Bulk Substrate:
- Use a 1:5 ratio of grain to substrate (e.g., 1 jar of colonized grain per 5 lbs of substrate).
- Mix in a clean environment and seal in a filter patch bag or monotub.
3️⃣ Colonize the Substrate:
- Place in a dark, warm area (same as before) for 7-21 days.
- The substrate should turn fully white when ready for fruiting.
✅ Next step: Once fully colonized, introduce fruiting conditions.
Step 3: Fruiting (Triggering Mushroom Growth)
💡 Mushrooms need fresh air, humidity, and light to develop.
1️⃣ Prepare the Fruiting Environment:
- Move to a bright area with indirect light (not direct sunlight).
- Maintain high humidity (80-90%) using misting or a humidity tent.
- Provide fresh air exchange (Fruiting chambers or monotubs help!).
2️⃣ Introduce Oxygen by Cutting the Bag or Tub:
- Bag Method: Cut X-shaped slits in the bag to allow mushrooms to emerge.
- Tub Method: Remove the lid slightly for airflow.
3️⃣ Maintain Ideal Conditions for Your Mushroom Type:
| Species | Ideal Temperature | Humidity | Cut Placement |
|---|---|---|---|
| Lion’s Mane | 60-70°F | 85-90% | One large X-cut on the side |
| Blue Oyster | 55-65°F | 85-90% | Two small X-cuts on opposite sides |
| King Oyster | 55-65°F | 70-80% | One slit near the top |
| Pioppino | 65-75°F | 70-80% | Two small slits on opposite sides |
| Nameko | 55-65°F | 90% | One large slit |
| Maitake | 55-65°F | 85% | No cut needed, let fruit naturally |
| Turkey Tail | 65-75°F | 80% | No cut needed, grows on surface |
| Enoki | 50-60°F | 90% | No cut needed, grows inside container |
🔍 Watch for Mushroom Pins! In 3-7 days, small mushrooms will begin to form.
✅ Next step: Time to harvest!
Step 4: Harvesting Your Mushrooms
💡 Pick at the right time for the best flavor & texture!
- Twist and pull or cut mushrooms at the base.
- Harvest before spores drop (for Oysters, this means just as caps flatten).
- For Lion’s Mane, wait until spines are ½-1 inch long before cutting.
✅ Next step: Encourage another flush!
Step 5: Encouraging a Second (or Third) Flush
💡 Many species will produce multiple harvests!
1️⃣ Let the substrate rest for 3-5 days after the first harvest.
2️⃣ Rehydrate:
- Soak the block (cut side down) in cold water for 12-24 hours.
3️⃣ Resume fruiting conditions—mist daily and maintain fresh air exchange.
4️⃣ Repeat until the substrate is exhausted (2-3 flushes).
Final Step: What to Do with Your Spent Substrate
Your mycelium is still useful! 🌱
- Compost it to enrich your garden soil.
- Bury it in a shady spot—you might get surprise mushrooms!
- Use it as mulch for plant nutrients.
Troubleshooting & FAQs
🔹 Why is nothing happening? – Colonization may be slow due to low temperature or contamination. Check conditions.
🔹 Why are my mushrooms small? – Low humidity—mist more often.
🔹 Why does my bag smell bad? – Contamination. Contact support@blackforestmushrooms.com for help.
Your Adventure is Just Beginning! 🌲🍄
Growing mushrooms is part science, part magic, and all adventure. Stick with it, and soon you’ll be harvesting gourmet fungi from your own home!
📸 Share your grow at @black_forest.mushrooms
📹 Post updates on TikTok @black.forest.mushrooms
✨ Welcome to the Black Forest. Where Adventure Spawns. 🔥

Leave a comment