Northwest Flower & Garden Festival Live Inoculated All-in-One Grow Bag Guide
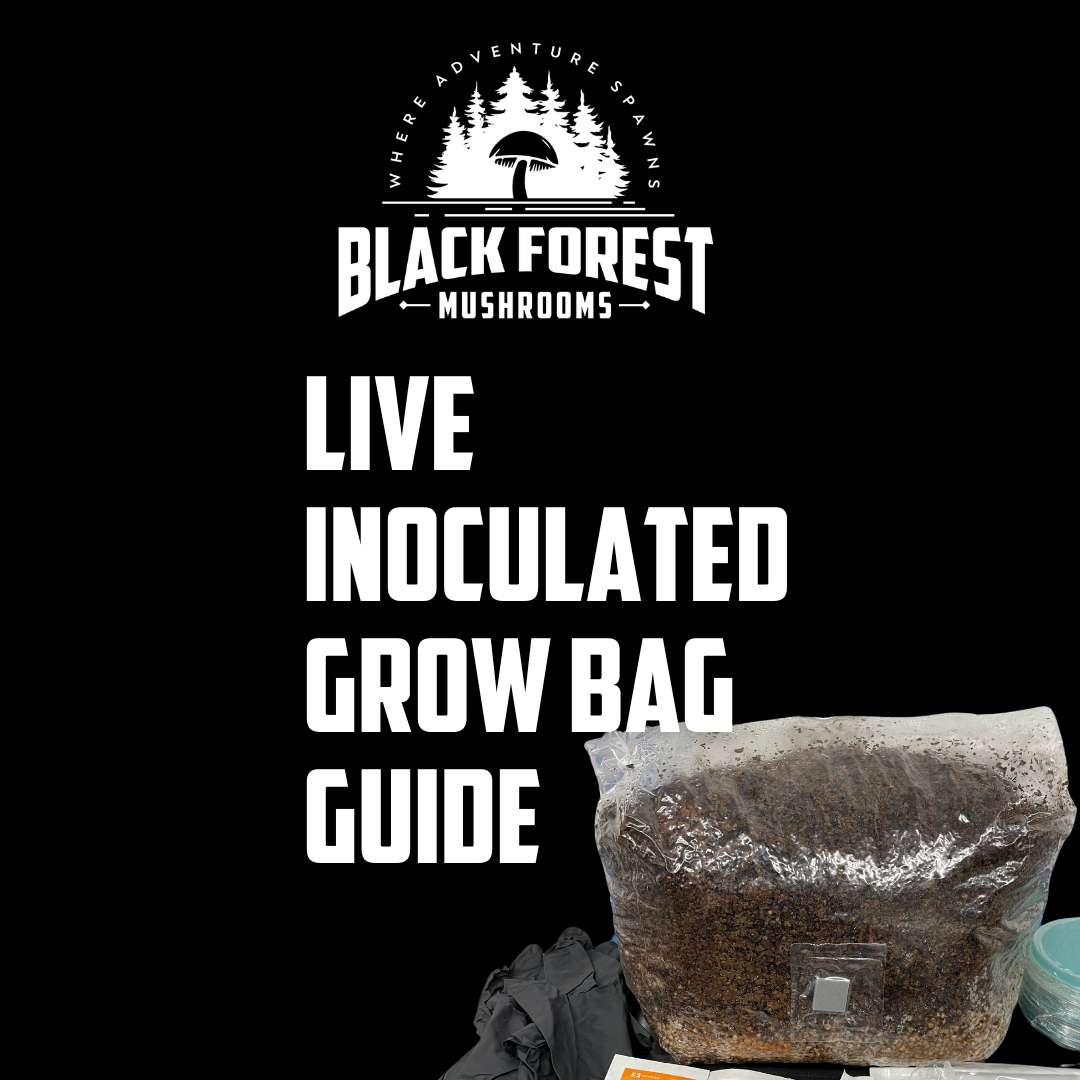
🌲 Welcome, Adventurer! You picked up a special-edition grow bag at the Northwest Flower & Garden Festival, where one of our Rangers personally inoculated your bag with Lion’s Mane, Blue Oyster, King Oyster, Pioppino, or Nameko.
This is your official guide—everything you need for a successful harvest!
We’re here to make your first mushroom-growing adventure easy and rewarding. Follow each step carefully, and your mycelium will do the rest!
How Your Grow Bag Works (What’s Inside?)
Your bag contains:
✔ A grain layer (sorghum): This is the first stage of growth, where mycelium spreads before colonizing the rest of the bag.
✔ A Masters Mix substrate (50% hardwood sawdust, 50% soy hulls): This acts as the fuel for your mushrooms to grow.
✔ Pre-inoculation with 2-3ccs of liquid culture: Your bag was started by us, and now you get to watch it come to life.
Your job: Provide the right conditions and let the mycelium do its thing!
Step-by-Step Growing Instructions
Step 1: Colonization – Let the Mycelium Take Over
💡 Your first step is to wait. Mycelium (the white, thread-like growth) needs time to spread. This stage is called colonization.
- Where to store your bag: Keep it in a dark place at 65-75°F (like a closet or pantry).
- How long it takes: 2-3 weeks depending on temperature and species.
- What to look for: You should see white mycelium spreading from the injection points into the grain layer (bottom layer of the bag near the injection port).
- When to move to the next step: The entire grain layer must be completely white before you proceed.
🚨 Red Flags: If you see green, black, or foul-smelling patches, this could indicate contamination. Send a photo to info@blackforestmushrooms.com for troubleshooting.
✅ Next step: Once the grain is fully colonized, move on to "Break & Shake."
Step 2: Break & Shake – Mixing the Mycelium
This is where things get hands-on! Your mycelium has colonized the grain layer, and now it needs to spread throughout the entire bag.
1️⃣ Check your bag: The top layer should be completely white with mycelium.
2️⃣ Sanitize your hands (or wear clean gloves) before handling the bag.
3️⃣ Break up the colonized grain layer:
- Use your fingers to gently massage the grain inside the bag to break it into smaller pieces.
- This step redistributes the mycelium evenly into the rest of the bag.
4️⃣ Shake the bag to mix the broken-up grain with the substrate.
5️⃣ Place the bag back in the dark colonization spot for another 5-10 days until it turns completely white again.
✅ Next step: Once the entire bag is fully white and firm to the touch, it's time to introduce fruiting conditions!
Step 3: Fruiting – How to Trigger Mushroom Growth
Once your bag is fully colonized, your mushrooms need fresh air, light, and humidity to start growing. Here’s how to make that happen:
1️⃣ Where to Place the Bag
- Find a bright spot with indirect sunlight or a grow light (a kitchen counter, shelf, or table near a window works well).
- Keep the temperature within the range for your mushroom type (see species-specific details below).
- Your bag needs good airflow—avoid sealing it inside a cabinet.
2️⃣ How to Cut the Bag (Why & Where?)
Mushrooms need oxygen and a place to emerge from the bag. Here’s how to help:
- Take a sharp, clean knife or scissors.
- Cut a small X-shaped slit (about 2 inches) in the plastic at the appropriate location for your species (see below). Don't worry if you cut into the block, some species actually prefer having the substrate scratched!
- The cut allows fresh air exchange, signaling the mycelium to start forming mushrooms.
🌟 What to expect: After a few days, tiny mushroom pins (baby mushrooms) will start forming near the cut. This is the beginning of your harvest!
Species-Specific Fruiting Tips
Each mushroom species has slightly different needs:
🍄 Lion’s Mane
- Cut location: One large X-shaped slit on the front or side of the bag.
- Humidity: Very high (85-90%)—mist the area frequently.
- What to expect: White pom-pom-like growth will form and expand over 7-10 days.
- When to harvest: When spines are ½-1 inch long.
🌊 Blue Oyster
- Cut location: One large X-shaped slit on the front or side of the bag.
- Humidity: High (85-90%)—mist the slit daily.
- What to expect: Clusters of wavy caps will form quickly.
- When to harvest: When the caps begin to flatten but before they curl upwards.
👑 King Oyster
- Cut location: One slit near the top of the bag.
- Humidity: Moderate (70-80%)—avoid over-misting.
- What to expect: Thick, meaty stems with small caps.
- When to harvest: When stems are thick and caps remain small for the best texture.
🍂 Pioppino
- Cut location: Two small slits on opposite sides.
- Humidity: Moderate (70-80%)—mist lightly.
- What to expect: Tall, slender stems with dark brown caps.
- When to harvest: Before caps fully open.
🌧 Nameko
- Cut location: One large slit in the bag.
- Humidity: Very high (90%)—mist often or use a humidity tent.
- What to expect: Sticky, amber-colored mushrooms.
- When to harvest: When caps are fully rounded.
Step 4: Harvesting – How to Pick Your Mushrooms
- Use clean hands or scissors to twist and pull mushrooms at the base.
- Leave a small piece behind to encourage future flushes.
- Store fresh mushrooms in a paper bag in the fridge (not plastic).
Step 5: Encouraging a Second (or Third) Flush
Your grow bag isn’t done after the first harvest! Here’s how to get another round of mushrooms:
1️⃣ Let the bag rest for 3-5 days after harvesting.
2️⃣ Rehydrate the block: Submerge it in cool water (cut side down) for 12-24 hours.
3️⃣ Drain the bag thoroughly and return it to fruiting conditions.
4️⃣ Mist daily to maintain humidity.
🎉 Bonus: Some species can produce up to 3 flushes! Keep the process going until the mycelium stops producing or you see visible signs of contamination or mold.
Final Step: What to Do with Your Spent Block
When your block stops producing, don’t throw it away!
- Bury it in a shady outdoor spot—you might get more mushrooms!
- Compost it to enrich your garden soil.
- Use it as mulch to add nutrients to plants.
Troubleshooting & FAQs
🔹 Why aren’t my mushrooms growing? – Your environment may be too dry or not getting enough fresh air. Try misting more and increasing airflow.
🔹 Why are my mushrooms small? – Low humidity—mist more often.
🔹 What if my bag smells sour? – It may be contaminated. Send us a photo for help.
Your Mushroom Adventure Begins! 🌲🍄
Congratulations, Adventurer! You are now part of the legendary journey of growing your own gourmet mushrooms—a process as rewarding as it is magical (but, you know, not that kind of magic 😉).
Mushrooms are nature’s great alchemists, transforming simple ingredients into delicious, nutrient-dense food. With each flush, you’ll deepen your understanding of mycelium, patience, and the interconnected world beneath our feet.
👉 Stay Curious, Keep Growing, and Share Your Adventure!
📸 Tag us on Instagram @black_forest.mushrooms
📹 Post your grow updates on TikTok @black.forest.mushrooms
If you have any questions, let us know—our Rangers are always here to guide you.
✨ Welcome to the Black Forest. Your adventure has just begun. 🌿🔥




Leave a comment